Many organizations have a large amount of subscribers ready to be moved out of BigCommerce. Fortunately, Bronto allows a CSV import to be done for the initial data in BigCommerce, then FlowLink will handle the automatic syncing going forward.
To export your Subscribers from BigCommerce:
1. Log into the Admin area of your BigCommerce Store
2. Select Marketing from the menu on the left
3. Select Email Marketing from the same menu
4. Click the Export Only tab
5. Click Download to CSV file
6. Select Export my subscriber list to a CSV file
7. Wait while BigCommerce generates the file and then select Download my Subscriber List file
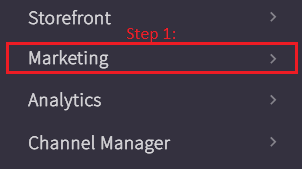
Step 1: Select Marketing from the admin panel
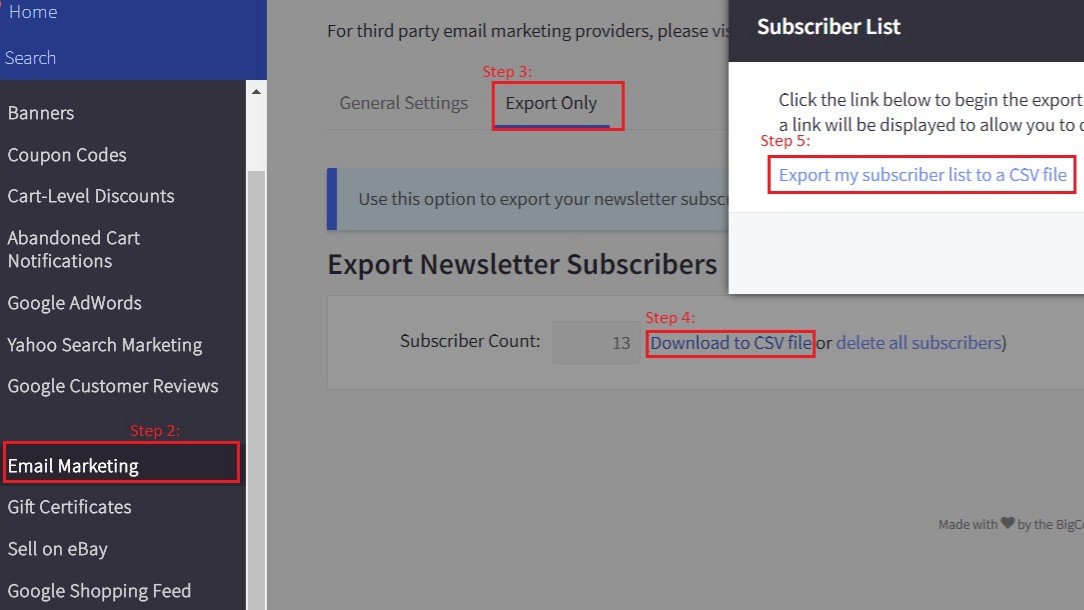
Step 2: Click on Email Marketing – Step 3: Click on Export Only – Step 4: Click on Download to CSV file – Step 5: Click on Export my subscriber list into a CSV file
To import your Subscribers into Bronto:
1. Log into the Admin area of your Bronto platform
2. Click the Contacts tab →Select Manage →Choose the Import option
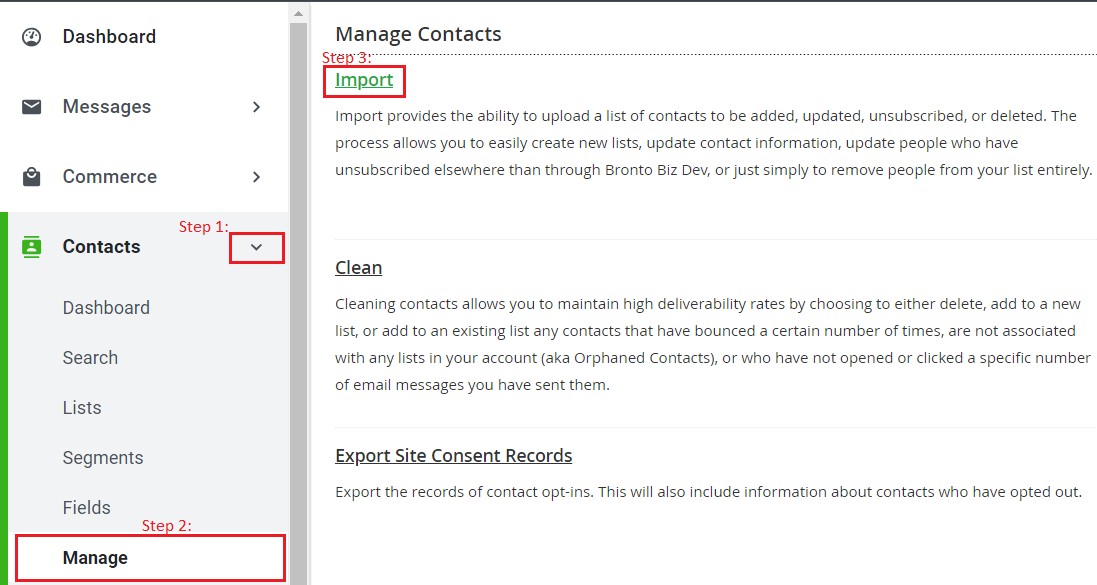
Select the drop down menu from Contacts in the admin panel → Click on Manage → Select Import
3. Agree to the Terms of Service, fill out where the contacts are from, and select Next on the bottom right
4. Make sure Import from a CSV file or files is selected
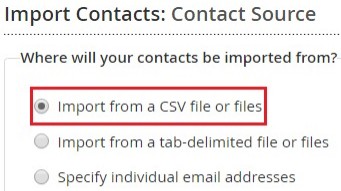
Check the Import from a CSV file or files
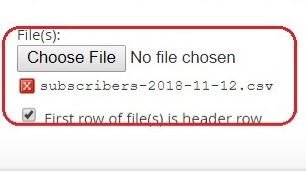
Choose CSV file to upload and check the “first row of files(s) is header row” if this applies
5. Click the Choose file button and choose the file you downloaded from BigCommerce
6. BigCommerce usually has the first row as headers, so check the First row of file(s) is header row checkbox if this applies to you
7. Select the correct character set (Usually this is UTF-8) →Click Next
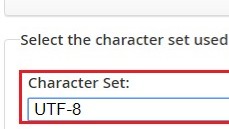
Choose the Character Set – this is normally UTF-8
8. Select the option you would like to have happen when the contacts are imported. Most of the time you will leave Update existing contacts, Add new contacts selected.
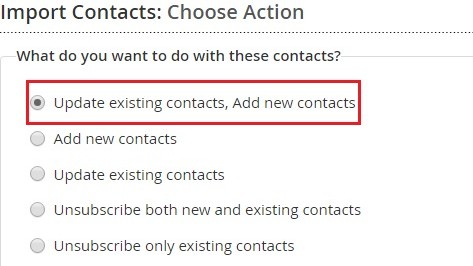
Click the option that best applies to you – in most cases, this will be Update existing contacts, Add new contacts
9. Leave the boxes unchecked at the bottom of the page unless they apply to you→Click Next
10. In the confirm contact subscriptions page, choose from the available options→Click Next
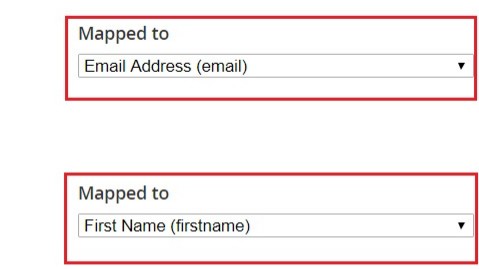
Box one mapped to Email Address (email). Box two mapped to First Name (firstname)
11. Confirm that Column 1 (Email) is mapped to the email address field
12. Confirm that Column 2 (First Name) is mapped to the first name field→Click Next
13. Select any lists that you would like these contacts added to. We advise you to use the list name you provided FlowLink for automatic syncing→Click Next
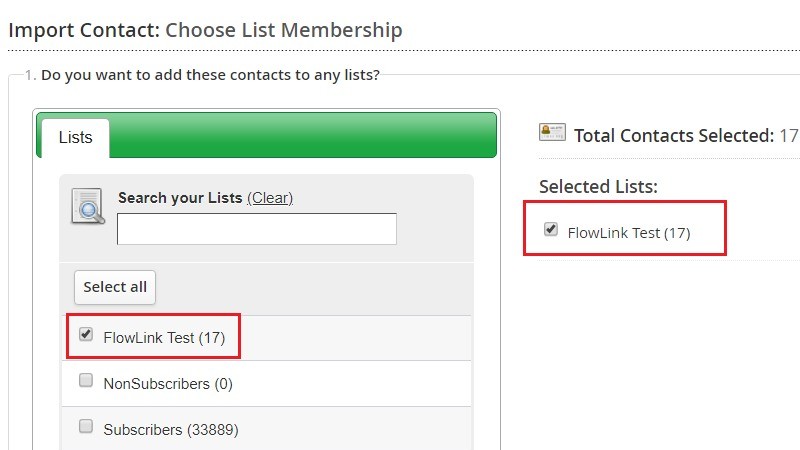
Select the list of contacts you wish to add.
14. Remove List Membership – You may choose to remove the imported contacts from any list→Click Next
15. If you would like to be notified by email when the import is complete, check the box and fill in your email address →Click Next
16. Review the information and select Finish

Comments